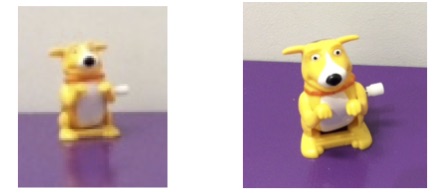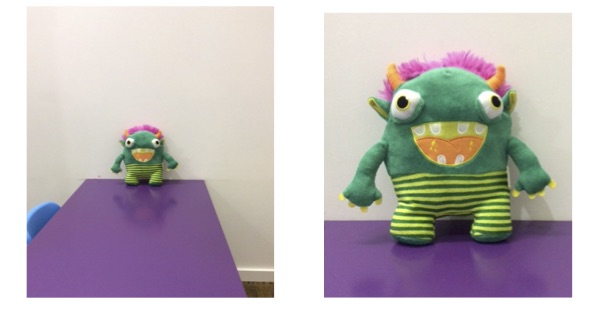
Many children use visuals to assist their communication and understanding of events. The first step in making and providing visuals for your child is to determine the level of visual that your child can understand. The most common visual levels are:
Real Object – the actual object is used for communication. This is the simplest form of visual communication and is usually the first step for early level communicators.
Remnant – remaining parts of real objects, such as empty chip packets or a banana skin.
Photo – a clear photo of the actual object, person or place.
Line drawing or symbol – a generic, but clear and easily interpreted representation of the object, person or place.
Written word – using the written word in absence of a photo or symbol. This is the most difficult form of visual communication and requires reading competence.

It is also important to remember that children can use more than one type of visual, and can use different visuals for different communication purposes. For example, a child may use a remnant for food and photos for play activities.
Any of these symbol types can be taught through exposure (that is, repeated practice and use) and aided language stimulation (that is, using the visuals along with a verbal model).


Boardmaker – Mayer-Johnson provide free 30 day trials of their Boardmaker software. This software allows access to the thousands of Boardmaker symbols, as well as the option to input your own photos. Click here for more information.
Customboards by Smarty Ears (available on iTunes) – Has over 10,000 symbols and allows customisation with photos and text. Also has the added options of creating games and therapy activities to print. Click here for more information.
LessonPix – $36US for a 12 month subscription allowing access to over 30,000 symbols. These symbols can be printed in a range of grid formats and can be added to game boards and therapy cards. Click here for more information.
Photo collage apps – Use these to insert your photos in to a grid and then print and laminate for photo visuals. Our favourites are PicsArt Photo Studio (available for download on apple or android devices) and Pic Collage (available for download on apple or android devices).